Sunday, January 4, 2009

Bling and Stickles RAK--Girlie


These are paper clips for the RAK that are "Girlie" I realize they could also be "Flowery" but my little girl loves Flowers, so that was the first thing that I tought of when I though of GIRLS.


The other two I"m still working on, they should be done soon.


Supplies: Jumbo Paper Clips from Staples, On Board Blossoms and Blooms from SU!, Versamark Ink, Clear Embossing Powder, Marvy Heat Embossing Tool, Felt Flowers from SU!, Buttons from SU!, E6000 glue (use this stuff in a well ventilated area!!), Skittles, Caramel

Alcohol Ink, Gold Brads from SU!, Skittles.

Bling and Stickles RAK--Flourishes


This is for the Flourishes portion of the Swap.
The top is a deco square. I love this paper, its a white base with flourishes in a fluffy substance. I got an awesome deal on this paper and I LOVE IT!!
So I used the CM Square Cutter to cut out the bottom layer, in black Bazzill. The top layer is the aforementioned paper cut with the smaller of the two squares on the large CM Square cutter. I then added some Platinum stickles to certain areas of the paper and then added a Rhinestone to the corner. I think they turned out ok!!
The Tag:
Supplies: Black Bazzill CS, CM Tag Maker, Making Memories Chipboard, Silver Embossing powder, Marvy Heat gun, Rhinestone
The Photobox:
Supplies: Flourish paper, Black Bazzill CS, Platinum Stickles and Rhinestones.

Bling and Stickles RAK--Flower Contribution.


I'm in a RAK on scrapbook.com. I'm contributing to three different catergories: Flowers, Flourishes and Girlie.
This is the the Flowers portion of the RAK.
The first one is a journaling box.
Supplies: SU! Bold Brights paper, Ruled paper from CM, Floral ribbon from Michaels $1.00 bin (I love the $1 ribbon bin!!) and Corner and Brads from Making Memories.
The second one is a tag.
Supplies: SU! Bold Brights Paper, CM Tag Maker, Imaginence Spring Build-a-Blossom Kit, Making Memories Brads.
The third and final portion is a photo mat.
Supplies: SU! Bold Brights paper, the same Floral Ribbon from Michaels, Making Memories Flower Brads.


Saturday, November 29, 2008

Christmas and Thanksgiving Cards

This is only my second attempt at heat embossing, but I was quite happy with my results. I'm sure with more practice, it'll get better. I got this idea from Split Coast Stampers
That is a great website for anyone who needs inspiration (like me!!)
Supplies:
Stamps: Baroque Motifs, Acrylic stamp from Wal-Mart
Ink: Versamark, Purely Pomengranate and Kiwi Kiss
Paper: Purely Pomengranate, Whisper White and Green
Other: Making Memories Eyelet, CM Tape Runner and Gold String, Marvy Heat Embosser, Glitter Pal Tray
Technique: Heat Embossing

This is a card that I made for my mother in law for Thanksgiving, but I liked it so much, I never gave it to her. This is an interpretation of one I saw on SCS.
I cased it and I can remember who originally made it, I would give her credit.
Supplies:
Stamps: Baroque Motifs (I love this stamp set!!)
Ink: Creamy Caramel
Paper: Creamy Caramel, More Mustard and Ruby Red
Other: Chocolate Chip Ribbon, Earth Elements Creamy Cocoa Button, Twine, Felt Leaf from Michaels, Silver SU! Brad
Technique: Tearing

This was a totally simple card!! Compared to the top two, this took about five minutes. The base is Chocolate Chip and the top is pumpkin pie!! Isn't this a great fall card? It reminds me of pumpkin pie, or maybe Sweet Potato.
Supplies:
Stamps: All Holidays
Paper: Chocolate Chip, Whisper White and Pumpkin Pie
Ink: Chocolate Chip
Other: Chocolate Chip ribbon, Glitter leaves from Michaels, CM Tape Runner.


Wednesday, October 15, 2008

Some more scrapbook pages.....


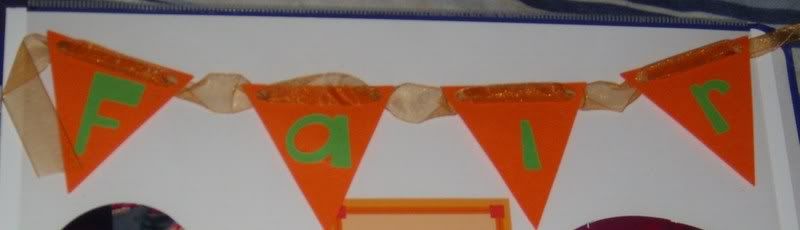
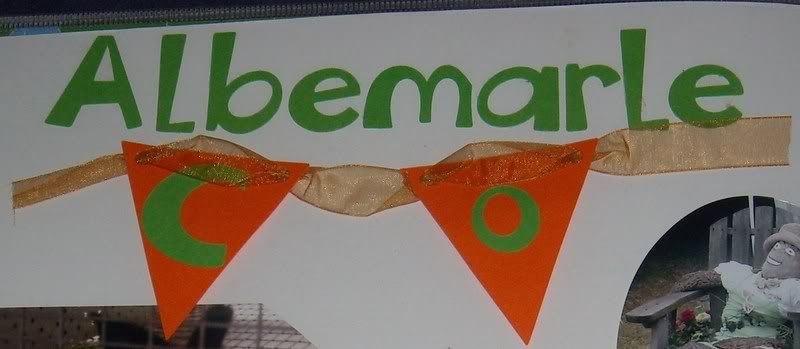
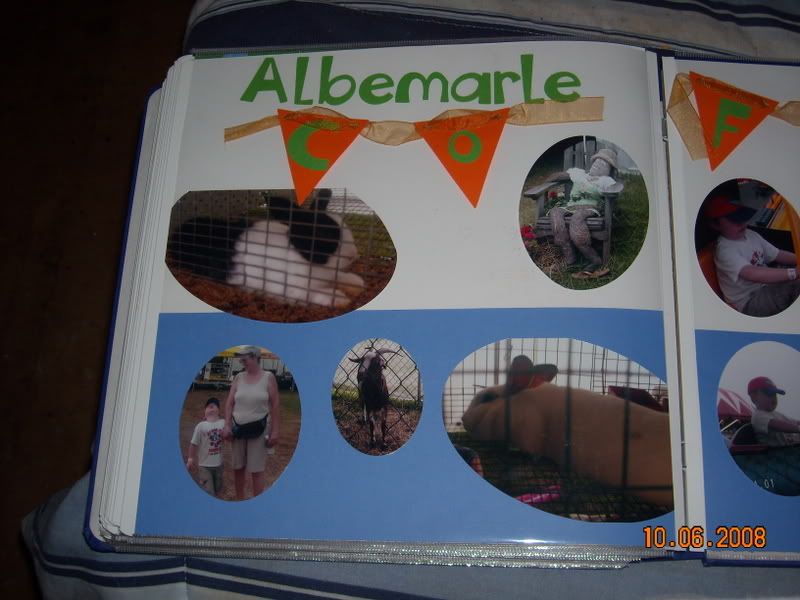
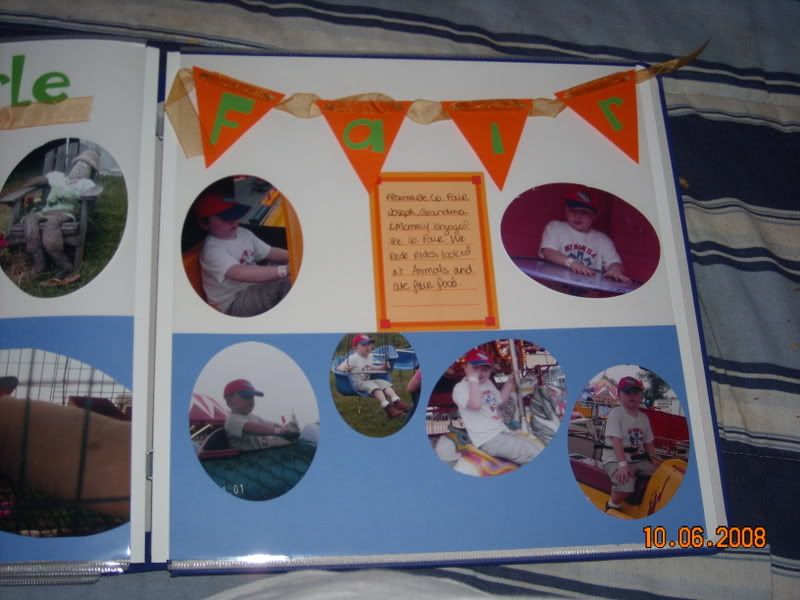
Albemarle Fair: The titles were made using the Cuttin' Up cart and the banner feature. I then cut out the overlying letters using the Holy Cow font on Cuttin' Up cart, weaved some orange ribbon through it and affixed with popdots.
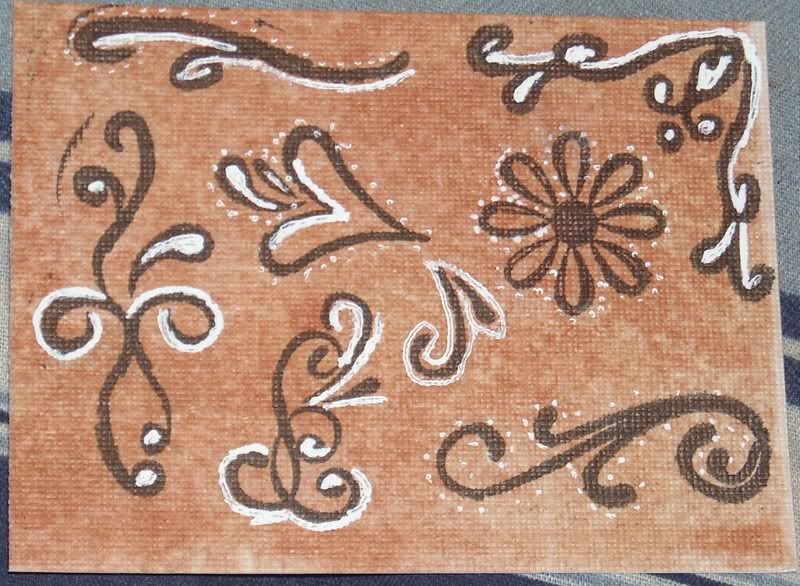
Bandana: This is a new technique that I learned from Candie. She took a bunch of acrylic stamps from the $1.00 section at Michaels, mounted them onto a acrylic block and them inked them with black ink. After stamping it on paper, it was embellished with a white gel pen in the style of a bandana.
Storybook Cart: A sampling of the storybook cart. I LOVE IT!! Terri has it and it's great. This was just used as a journaling box. I have more things done with this cart that I will be posting soon.

Monday, October 13, 2008

Some scrapbook pages.........

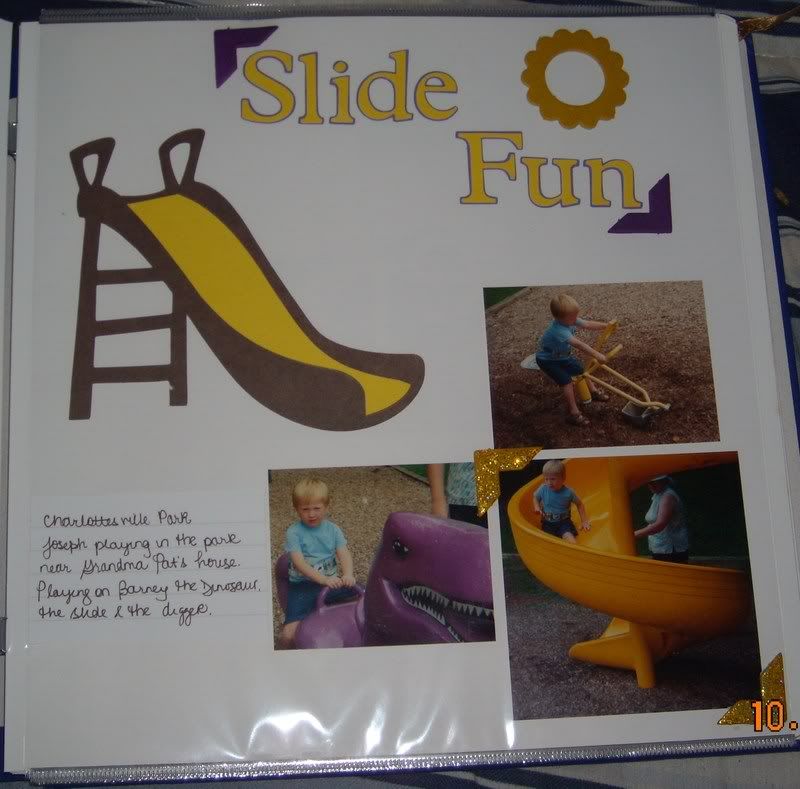
Slide Pages: made using the Locker Talk cart for the slide. The title is Doodletype. I used On Board Essentials from Stampin Up for the corners and sun. The purple ones are Alcohol ink and the yellow ones are Yoyo Yellow from Stampin' Up with clear stickles.The Happy is from the Celebrations cart. I just used several different pieces of paper to make the cut. I then used some silver brads from Stampin' Up to embellish the "Y". The border is also from Celebration and it is the Birthday hat using the border feature.


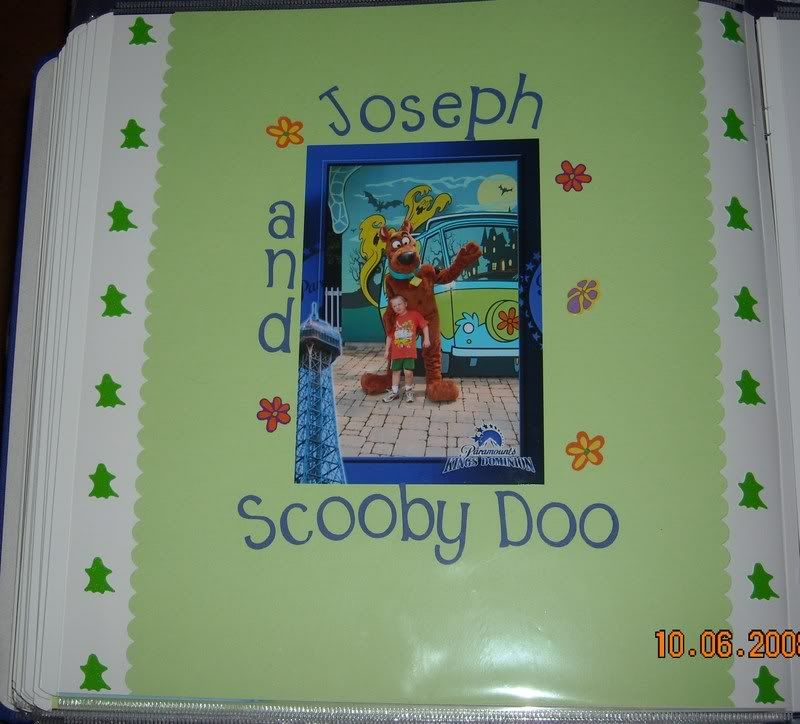
Scooby Doo: Scooby was done using some green paper that I had from CM: Shades of Green Paper pack. The letters are Doodletype. The ghosts came from the CM Halloween Trimmer and the ghost paper is DCWV Fall Glitter pack. I then used some stickers from Michaels.


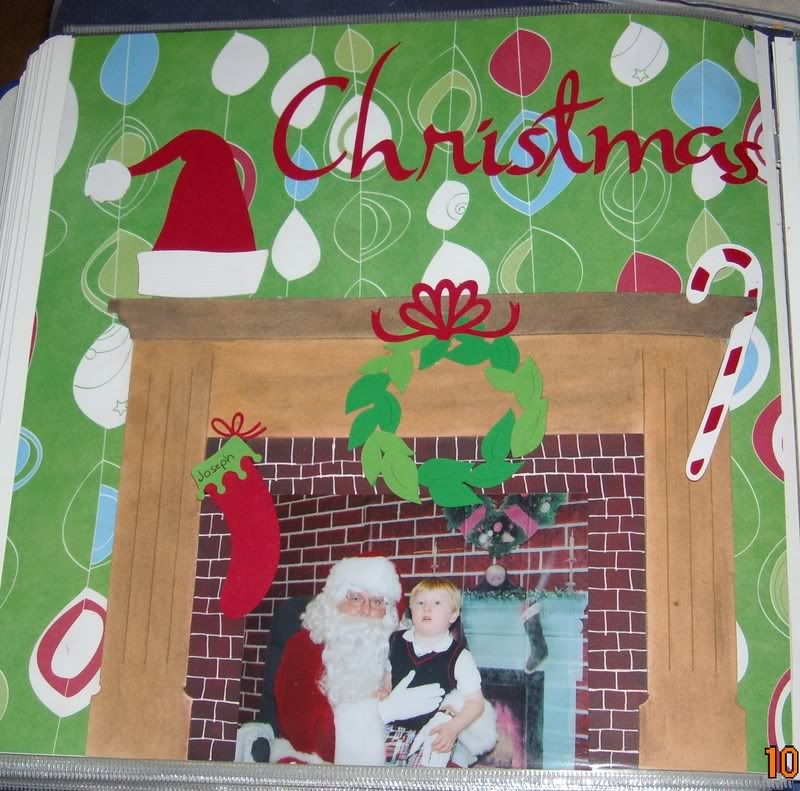
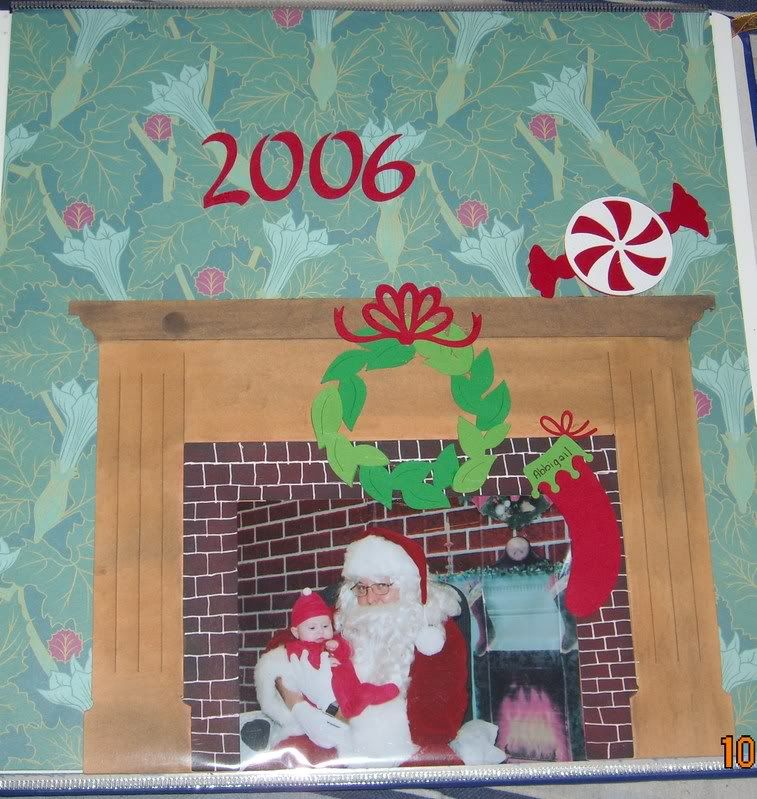
These pages were made using CM paper on the left as a base, and Target paper on the left.
I then cut two fireplaces from the Joys of the Season cartridge that goes with the Cricut in light tan.
I then used my chalks and a makeup applicator and applied a light tan chalk, followed by a medium tan and dark tan and mixed them all together. I applied black to the top part to make it look darker so that it looks like an overhang. I then cut out the layer piece for the fireplace and chalked it with red. I then took a white pen and drew lines to make it look like bricks.

Monday, October 6, 2008

Some cards I made.


Halloween Card--this idea came from a Stampin' Up rep named Karen that I met this weekend.


This was a fun card to make. The background paper is Stampin' Up Pumpkin cardstock as well as the pumpkin. The fence is double cut, first with card board and the second with Green SU Cardstock. The hat stamp is new to Stampin' Up this season and was double stamped and then mounted with popdots to add dimension. The face on the pumpkin was stamped with a new set of stamps, also from stampin up. This card took longer than some of the other ones because it was detailed.
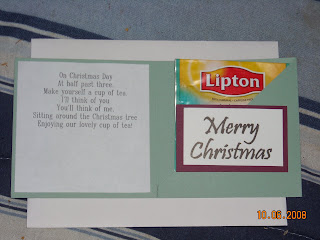


This is a cute little card that Candie showed me how to make. The front is watercolor paper that had the image of a cardinal stamped on it. We then took watercolor pencils and colored the image in and then took a blender pen and blended it all together. This is a small card as you can see from the second image, but it's so cute! The pocket was made by cutting that square in half and then taping the inside. The stamp is a stampin up holiday stamp on top of white paper and red paper. I suggest folding the top part of the teabag enough that it fits inside the card. This was a super fast card that requires little skill. It was also totally a great idea. Thanks Candie!! The inside has a computer printed verse that reads:


On Christmas Day


At Half past three


Make yourself a cup of tea


I'll think of you


You'll think of me


Sitting around the Christmas Tree


Enjoying our lovely cup of tea.


This is a super easy card. We just stamped a picture of a snowman, colored the hat, the nose and the scarf, glued it and put some ribbon through.